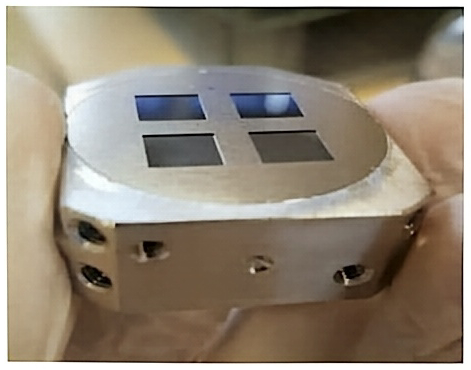
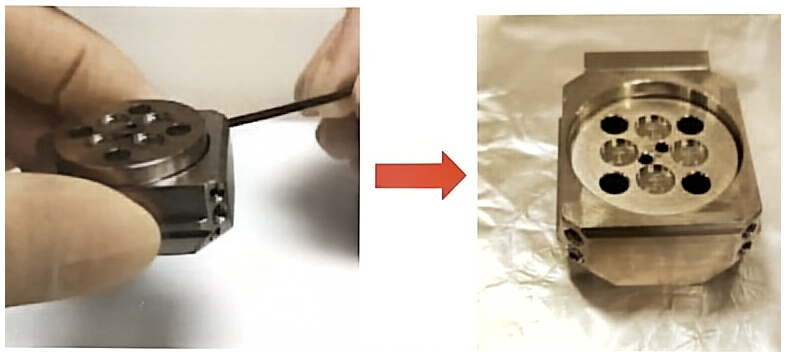
Check first with eyes that the front-plate is flat.
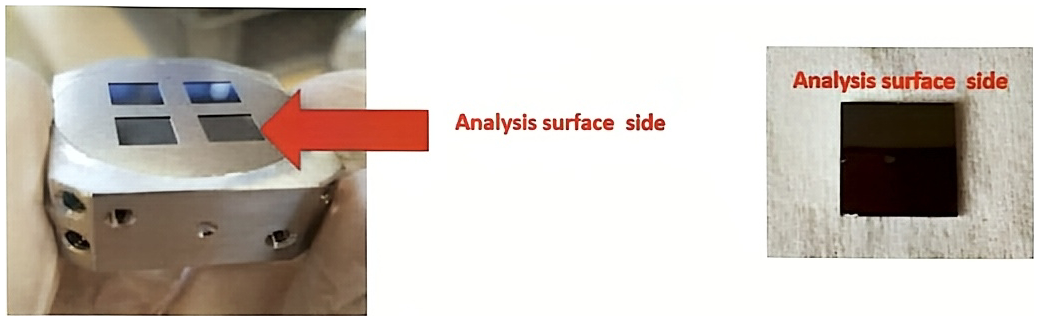
Then put the sample holder down on a clean surface (for example: covered by aluminium foil), the analysis surface side on the bottom. The sample surface must be put outwards of the sample holder as shown in the figures below.
Analysis surface side: sample holder (left) and sample chip (right)
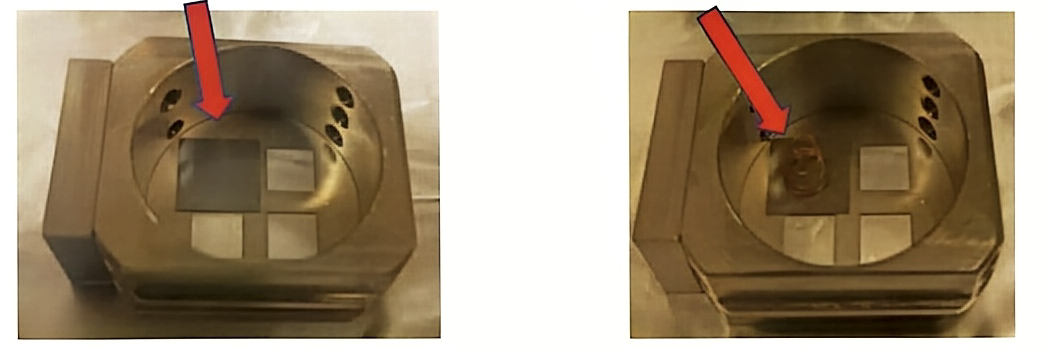
Put the Sample on the middle of the window to avoid the sample holder edge effect, then put the spring in the centre of sample to have a uniform press on sample.
Sample in the middle of the window (left); spring in the middle of the window (right)
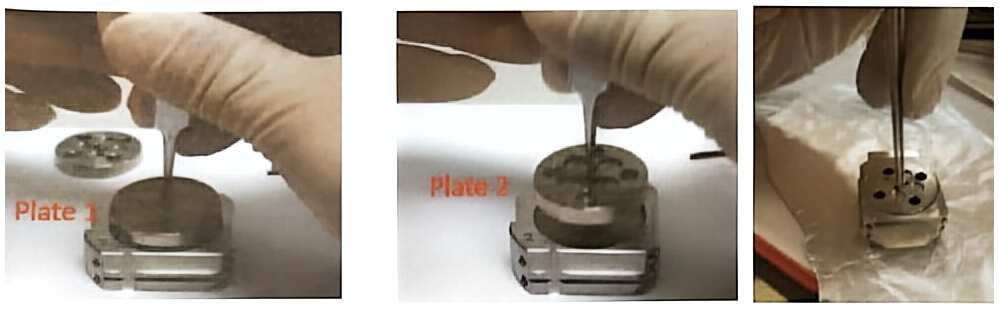
Place a back-plate by the upper side of the sample holder. Place another back-plate on it. Push uniformly the second back-plate. The second back-plate is to maintain the spring’s pressure on the sample.
Sample holder preparation: inserting sample, placing back-plate, and pressing uniformly
Keep that position flat and screw on the two screws on the side of the sample holder to lock the first back-plate. Take out the second back-plate.
Screw on the two screw to lock the back-plate.
Shake the sample holder, make sure that the sample is not shifted.