Skip to content

6.4 The preset boxes: The detector box.

The “Detector box” can be opened by clicking on Icon that opens the Detector box, placed next to the Slit, Image, FC and EM buttons associated either to the button Slit or Image or FC or EM.

The “Detector box” consists of the Preset pad, at the left-hand side, and the Calib box, at the right hand side, which must be opened only for modifying the content of a preset.
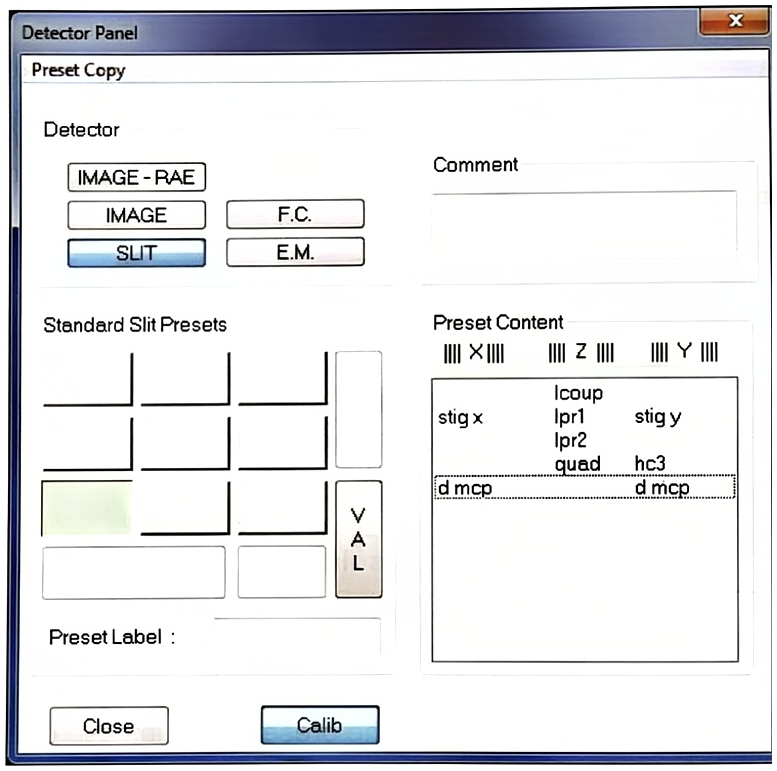
Detector Panel Standard Slit Presets

The rules of these 4 types of detector presets are slightly more complex and intricate than the standard rules. Note, for example, that if Slit or Image are selected, up to 9 “Zoom” presets can be defined, but only Lpr1 and Lpr2 are specific to each zoom preset while the other parameters Lcoup, Stig. are common for all the Slit zoom presets or for all the Image zoom presets.
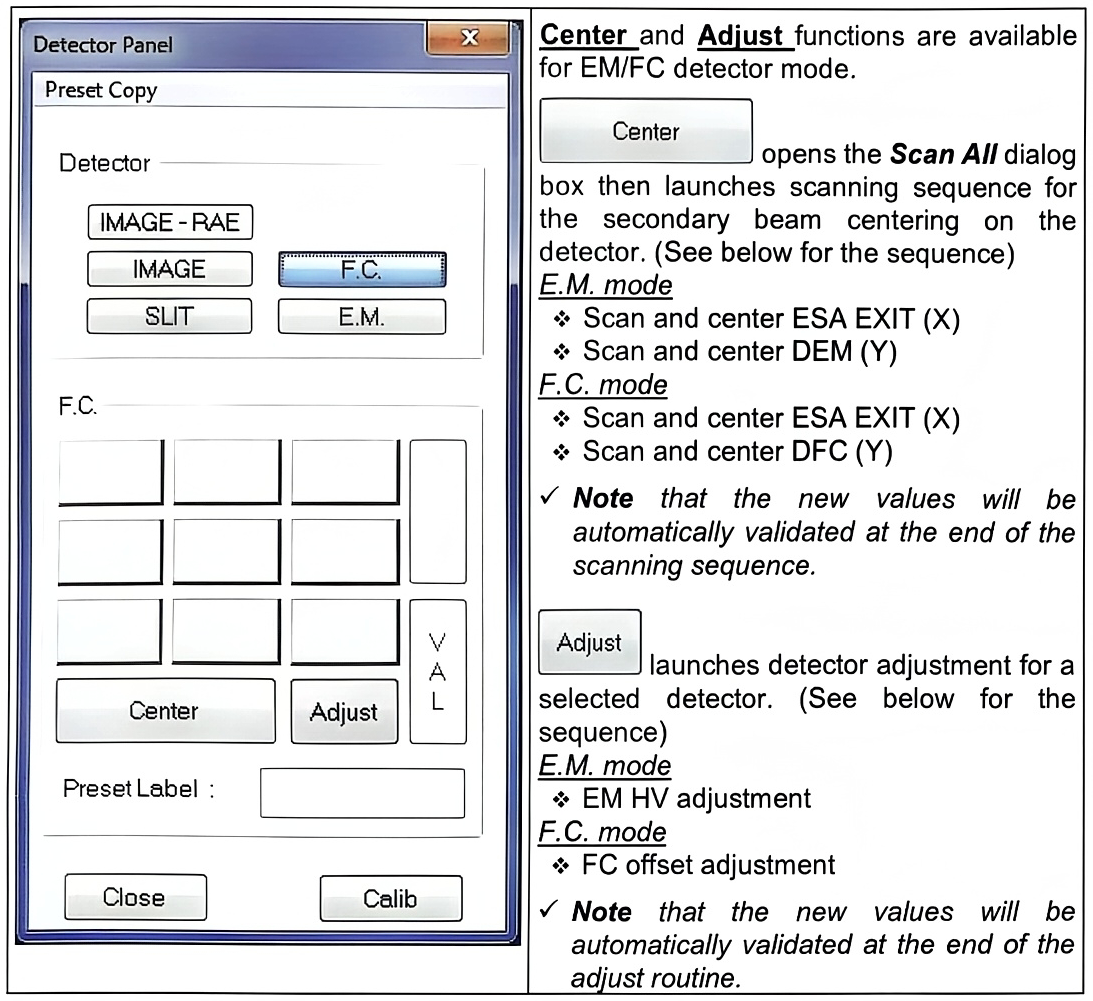
Detector Panel F.C.

Center and Adjust functions are available for EM/FC detector mode.

Center opens the Scan All dialog box then launches scanning sequence for the secondary beam centering on the detector. (See below for the sequence)

  • E.M. mode:
    • Scan and center ESA EXIT (X)
    • Scan and center DEM (Y)
  • F.C. mode:
    • Scan and center ESA EXIT (X)
    • Scan and center DFC (Y)

Note that the new values will be automatically validated at the end of the scanning sequence.

Adjust launches detector adjustment for a selected detector. (See below for the sequence)

  • E.M. mode:
    • EM HV adjustment
  • F.C. mode:
    • FC offset adjustment

Note that the new values will be automatically validated at the end of the adjust routine.